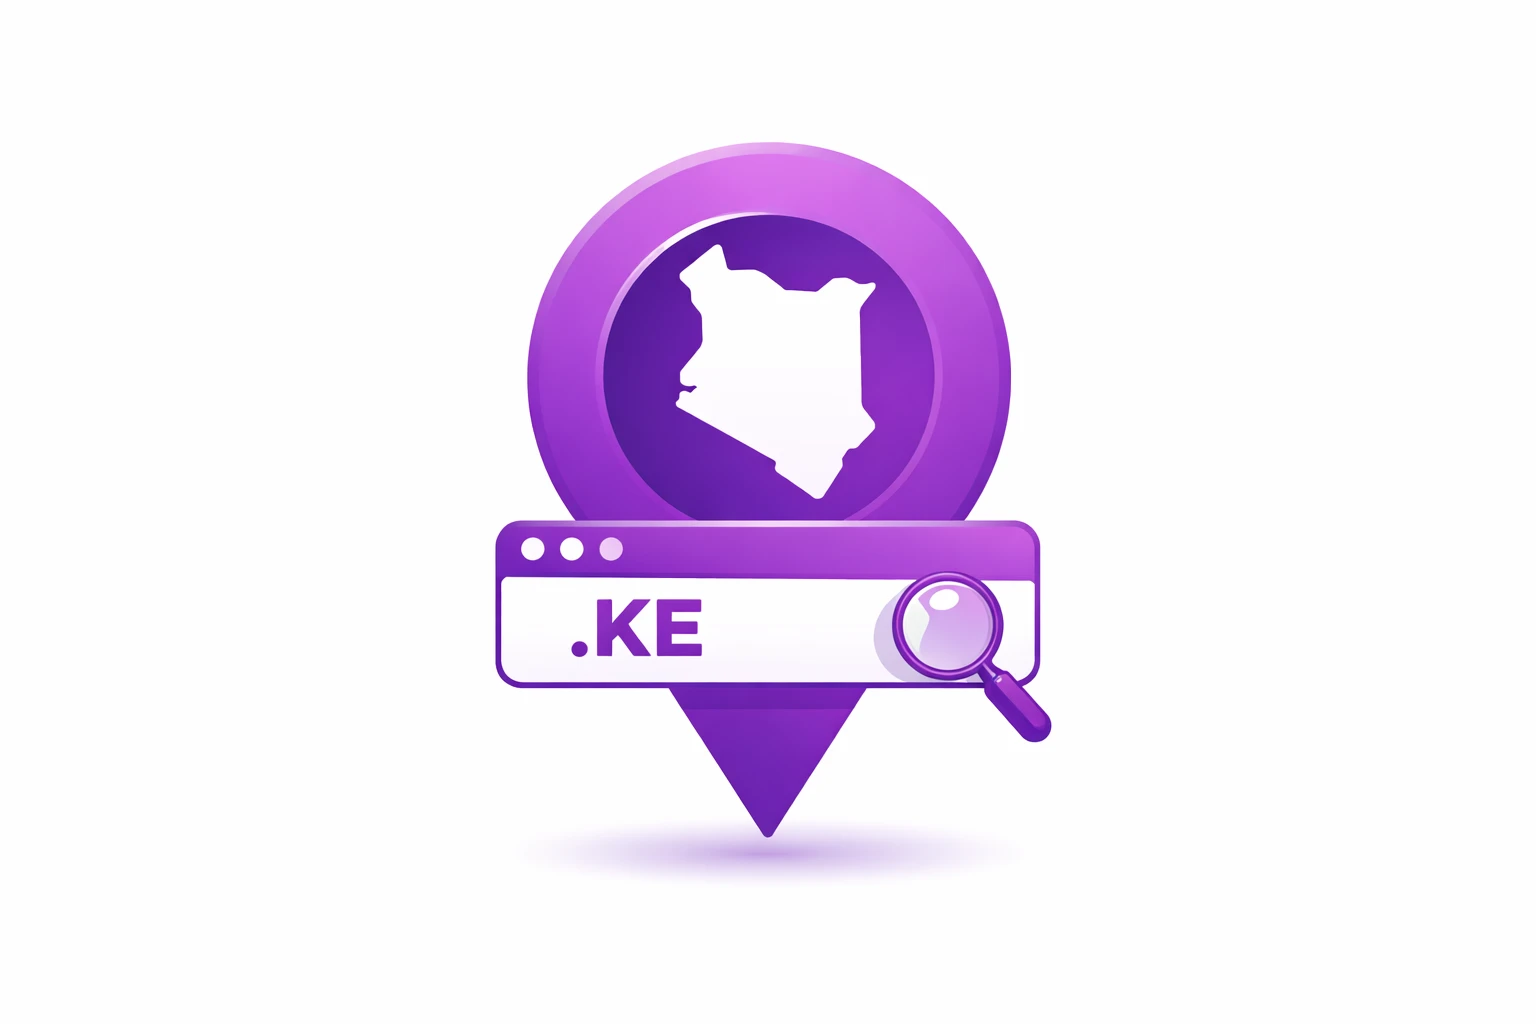
So, you need to figure out how to change nameservers for your .ke domain.
Maybe you’ve just signed up with a new web host, or you’re trying to connect your domain to a website builder like Olitt, and you’ve been given these two strange codes to enter.
It can feel like you’ve been handed a key without being told which door it opens.
Don’t worry, you’re not alone. This is one of those common, essential steps that every website owner faces at some point, and it’s much simpler than it seems.
In this guide, I’ll walk you through precisely what nameservers are, why you’d change them, and give you a clear, step-by-step process for your .co.ke, .or.ke, or .ac.ke domain.
By the end, you’ll be able to update your nameservers with confidence and get your website pointing exactly where you want it.
What Are Nameservers?
Let’s simplify it: Your website is like a house. Your domain name, like yourwebsite.co.ke, is your house’s address, written in a way people can remember.
But for the internet’s postal service to actually deliver visitors to your house, it needs the exact geographic coordinates.
 1")
Nameservers are the directory service. They are specialized computers on the internet that hold the master address book for your domain.
When someone types your domain into their browser, the first thing that happens is a query to these nameservers.
The nameserver looks up its records and says, “Ah, yourwebsite.co.ke? That house is located at this specific server IP address: 192.0.2.1. Go there.”
So, by changing your nameservers, you are essentially telling the entire internet, “Hey, stop asking the old address book for my location. From now on, ask this new address book.”
Your new hosting provider or service controls the new address book (nameserver), and it contains the updated instructions on where your website and email are hosted.
The Two Main Types of Nameservers
When changing nameservers for a .co.ke domain, it is essential to understand the two main types that you are likely to come across:
1) Default or Registrar’s Nameservers:
 2")
When you first register your .ke domain with a company like Truehost or Oliitt, it is automatically assigned their default nameservers, such as: ns1.truehost.com and ns2.truehost.com.
This is your domain being registered in the phone book provided by the company that sold you the address.
To make any changes to your website’s location, like pointing it to a different server, you typically have to log into your account with that specific registrar and update records there.
2) Custom or Third-Party Nameservers:
These are nameservers provided by a company other than your domain registrar. Common examples include:
- Your Web Hosting Provider: Like Cloudflare (
lara.ns.cloudflare.com), GoDaddy, or a specialized hosting company.
- Website Builders: Such as Olitt, Wix, Squarespace, or Shopify. They give you specific nameservers to point your domain to their platform.
- DNS Management Services: Like Cloudflare’s DNS or AWS Route 53. People use these for enhanced speed, security, or reliability.
When you change to custom nameservers, you are delegating the job of managing your domain’s address book to that other service.
Your original .ke registrar only knows to send inquiries to this new service.
When Would You Need to Change Your .KE Nameservers?
You’ll need to change your .ke domain nameservers in a few key situations:
Moving Your Website to a New Hosting Company: This is the most common reason. You’ve signed up with a new host, and they’ve provided you with their nameservers.
Using a Website Builder Platform: If you build your site on Shopify, Wix, or Squarespace, you’ll point your .ke domain to their nameservers.
 3")
Using a Premium DNS Service: To improve your site’s performance and security with a service like Cloudflare.
Managing Multiple Domains in One Place: If you have domains from different registrars, you might point them all to one hosting provider’s nameservers for easier management.
Step-by-Step Guide to Changing Nameservers for .KE Domains
The process is broadly similar across most .ke registrars. Here’s what you do:
Before You Start, you prepare by getting your new name servers.
So, get the correct nameserver details from your new hosting provider or service. They usually look like this:
ns1.newhost.com
ns2.newhost.com
You’ll often get two or more. Write them down exactly as provided.
Step 1: Log in to Your Domain Registrar’s Control Panel
Go to the website of the company where you registered your .co.ke, .or.ke, .ac.ke, domain. Log in to your account.
Look for a section called My Domains, Domain Management, or Domains List.
Step 2: Select the Domain You Want to Manage
Find your specific .ke domain in the list and look for a button that says (Manage, DNS, or Nameservers). Click on it.
Step 3: Locate the Nameserver Settings
Inside the domain management page, find the area for modifying nameservers. Look for: Nameserver Management, DNS Server, or Use Custom Nameservers.
Step 4: Enter the New Nameservers
You will usually see an option to switch from “Default” or “Registrar’s Nameservers” to “Custom Nameservers.” Select that option.
Then, carefully type or paste the new nameserver addresses you gathered earlier into the provided fields (NS1, NS2, etc.).
Step 5: Save Your Changes
This is the most essential step. Click the Save, Update, or Change Nameservers button. The system will ask you to confirm. Once you do, the change is submitted.
Step 6: Wait for Propagation
Your change is not instant. It can take anywhere from a few minutes to 24-48 hours for this update to spread across all the directories on the internet.
This period is called propagation. Your website and email might be intermittently available during this time.
Importance of Changing Nameservers
Here’s why you’d want to make this change:
a) You’re Moving to a New Host
If you’ve switched to a faster, more reliable web host, changing nameservers directs all your website traffic to their new servers.
 4")
It’s the essential step to make your move official; without it, visitors still end up at your old, slow host.
b) You’re Using a Specialized Platform
Building your site on a specific platform like Olitt AI website builder requires pointing your nameservers to them.
This lets you use your custom domain seamlessly with the builder’s tools, ensuring everything works smoothly under your own brand.
c) Adding a Security and Speed Layer
Services like Cloudflare act as a protective shield. By using their nameservers, your site’s traffic gets filtered through their global network first, blocking threats and speeding up load times worldwide.
It’s like adding a security detail and a global express lane for your site.
d) Simplifying Management
If you manage multiple domains, changing all their nameservers to one provider lets you handle everything from a single dashboard.
No more logging into multiple accounts because you can update settings for all your sites in one place.
e) Accessing Better Tools
Sometimes your domain registrar’s control panel is too basic.
Switching to a more advanced nameserver provider gives you access to the features you actually need, whether it’s setting up professional email, subdomains, or custom records.
Conclusion
And that’s it. Changing nameservers might have sounded complicated at first, but once you break it down, it’s really just about telling the internet where your new “address book” is kept.
You’ve learned how to redirect mail for your online home. You can now move to a faster host, add a security service like Cloudflare, or simply want to manage everything from one place confidently.
Remember, the key things are to have your new nameserver details ready, follow the steps in your registrar’s dashboard carefully, and then be patient while the update spreads across the globe.
Managing your website should give you control, not confusion. And if you’re building a new site and want a partner that makes everything.
Why not build your next website on Olitt? You can create a professional site quickly and easily connect your .co.ke domain, all from one intuitive dashboard.